A roof inspection in early spring helps homeowners uncover winter damage before seasonal storms move in. Snow, ice, and temperature swings can weaken shingles, flashing, and drainage systems without obvious warning signs. Catching small problems early prevents leaks, structural damage, and expensive repairs later in the year.
If your home is located within the service area of Union Roofing, spring is the ideal time to evaluate your roof’s condition after months of winter exposure.
Schedule a Professional Spring Roof Inspection to make sure your home is ready for the months ahead.
Why a Spring Roof Inspection Is Essential
A spring roof inspection checklist helps homeowners identify winter damage, loose shingles, flashing issues, and drainage problems before spring storms arrive. Completing a roof inspection after winter can prevent leaks, structural damage, and costly repairs by addressing small issues early.
Across many U.S. climates, winter weather puts significant stress on roofing materials. Freeze-thaw cycles cause expansion and contraction that can loosen shingles and seals. Heavy snow accumulation adds weight pressure, while ice buildup can trap moisture beneath protective layers.
When spring rainstorms arrive, weakened areas may quickly turn into active leak points. A spring roof inspection allows homeowners to spot early warning signs before they develop into major structural issues.
Taking time to review your roof each spring can help extend its lifespan and protect the interior of your home.
What Winter Can Do to Your Roof
Cold weather can affect roofing systems in ways that are not always visible from the ground. Even relatively new homes can develop vulnerabilities after months of snow, ice, and wind exposure.
Understanding how winter conditions affect your roof can help you check your roof for winter damage more effectively.
1. Ice Dams and Water Intrusion
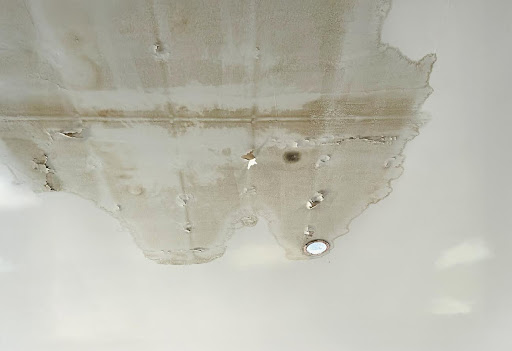
Ice dams form when melting snow refreezes near the edges of the structure. Water can back up and seep beneath shingles. Over time, moisture may reach insulation and interior drywall. When you check the roof for winter damage, watch for ceiling stains or damp areas near exterior walls.
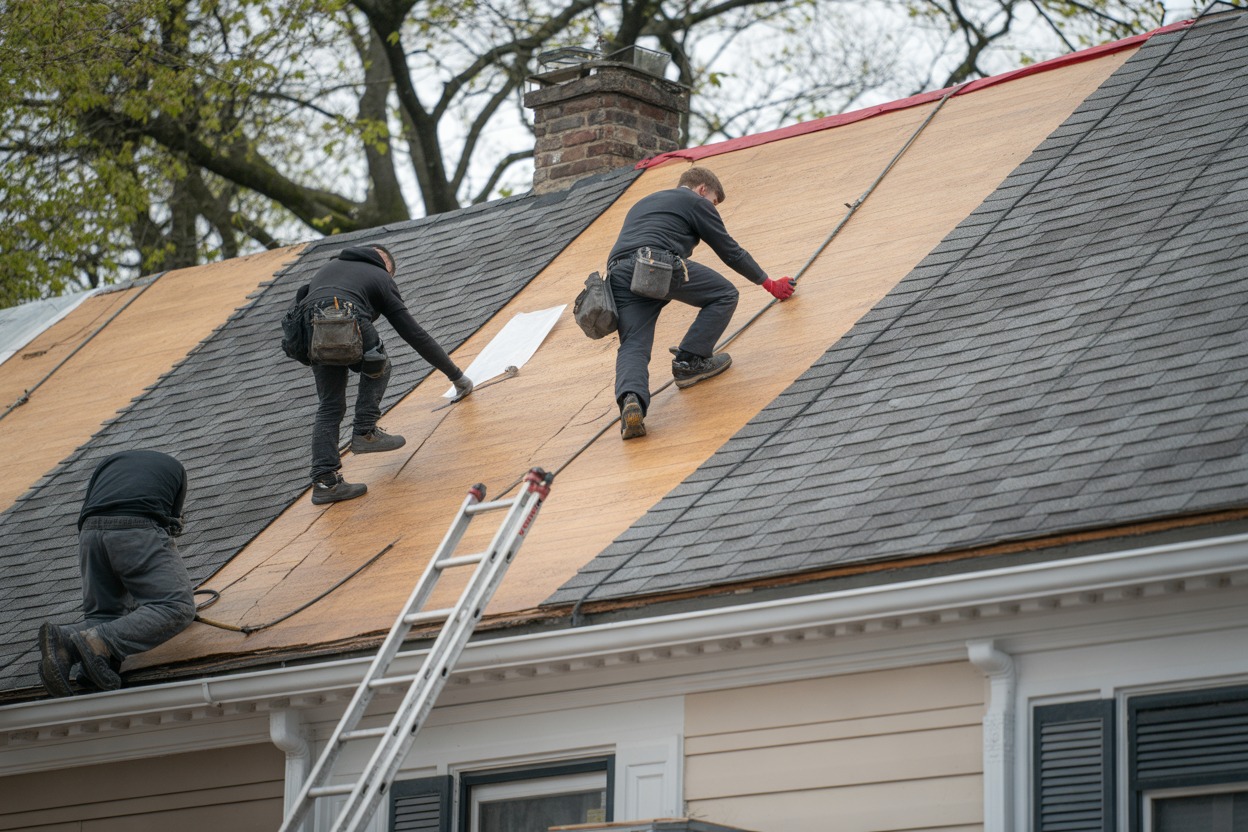
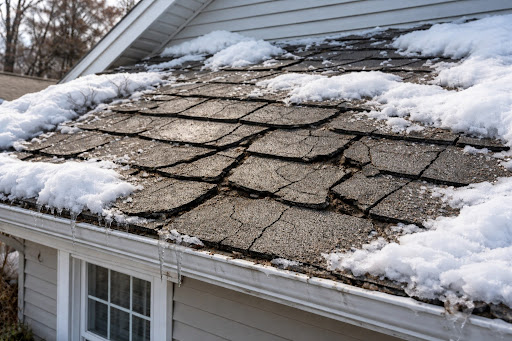
2. Shingle Damage from Wind and Snow
Strong winter winds can loosen shingles or blow them off entirely. Snow weight can also cause cracking or curling along the edges of asphalt shingles. During a roof inspection after winter, contractors often find shingles that appear brittle or uneven due to prolonged cold exposure.
3. Flashing Separation
Metal flashing protects joints around chimneys, vents, and skylights. Temperature shifts can loosen these components. Even small gaps increase the likelihood of moisture entry during rainfall.
4. Gutter and Drainage Strain
Gutters manage melting snow and spring showers. Ice buildup and debris can cause sagging or improper drainage. When water does not flow correctly, siding and foundation areas may be affected.
Spring Roof Inspection Checklist for Homeowners
This roof inspection checklist allows homeowners to conduct a safe visual review from the ground. It helps identify potential issues without climbing onto the roof.
These spring roof maintenance tips can reveal early signs of wear before they lead to major repairs.
1. Inspect Shingles from the Ground
Walk around your property and scan the surface carefully.
Look for:
- Curling edges
- Cracked tabs
- Missing sections
- Uneven or dark patches
Even minor visible wear can expose underlying materials to moisture.
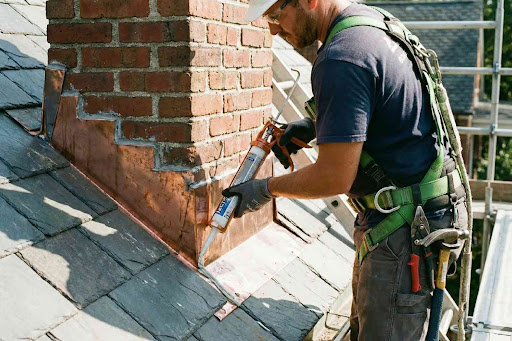
2. Check Flashing Around Chimneys and Vents
Examine the metal flashing surrounding chimneys, skylights, and ventilation pipes.
Watch for:
- Lifted edges
- Rust or corrosion
- Cracked sealant
Flashing damage is one of the most common causes of roof leaks.
3. Examine Gutters and Downspouts
Gutters should be clear and securely attached to the roofline.
Check for:
- Debris buildup
- Sagging sections
- Loose brackets
Shingle granules collected in gutters can indicate aging roofing materials.
Make sure downspouts direct water away from the foundation.
4. Look for Interior Signs of Leaks
Sometimes interior symptoms appear before exterior damage becomes visible.
Inspect ceilings and attic areas for:
- Water stains
- Damp insulation
- Musty odors
- Mold growth
Interior symptoms often appear before exterior damage becomes obvious.
5. Check for Sagging or Soft Spots
A roofline should appear straight and even when viewed from the ground.
Sagging sections can suggest structural stress or trapped moisture beneath the surface. If you notice unusual dips or uneven lines, a professional inspection is recommended.
6. Inspect Roof Penetrations and Seals
Roof penetrations include features such as vent pipes, skylights, and exhaust outlets.
Check surrounding seals for:
- Cracked rubber boots
- Deteriorated caulking
- Loose fittings
If you discover potential issues during this roof maintenance checklist, it may be time to request professional help.
If you notice concerns during this review, Request a Free Roof Evaluation for professional guidance.
Warning Signs You Need Professional Roof Repair
Some conditions require immediate attention from an experienced roofing contractor.
Common warning signs include:
- Excessive granule loss
- Shingle blistering
- Repeated interior leaks
- Visible storm damage
- Advanced age of materials
Granule loss often appears as sandy buildup in gutters. Shingle blistering may signal trapped moisture beneath the surface.
If leaks continue appearing in the same location, hidden structural damage could be present.
In these cases, a professional roof inspection helps determine whether repairs or replacement are necessary.
DIY Roof Inspection vs. Hiring a Professional
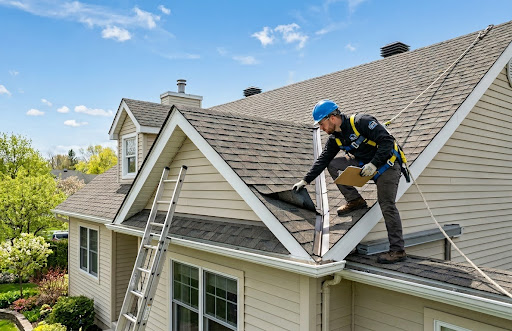
Homeowners can safely perform a basic ground-level review using the checklist above. However, climbing onto a roof introduces safety risks, especially on steep slopes or multi-story homes.
Professional contractors have the training and equipment needed to conduct detailed evaluations. They can identify hidden structural damage beneath shingles and flashing that may not be visible from the ground.
A professional roof inspection also provides documentation that may be useful when filing insurance claims after severe weather events.
Working with a trusted local contractor ensures potential issues are addressed accurately without unnecessary repairs.
How Often Should You Schedule a Roof Inspection?
Most homes benefit from professional evaluations twice per year.
Recommended timing:
- Once in spring
- Once in the fall
- After major storms
When you schedule roof inspection services consistently, minor problems are addressed before they become emergencies. Regular maintenance extends the lifespan of your home’s exterior protection system.
Schedule Your Spring Inspection with Union Roofing
A professional roof inspection provides peace of mind as spring storms approach. Experienced contractors can evaluate shingles, flashing, ventilation, and drainage systems to identify hidden damage.
Union Roofing provides comprehensive inspections for homeowners throughout its service areas. Their team offers detailed reports and clear recommendations so homeowners can make informed decisions about maintenance or repairs.
Protect your investment and reduce the risk of costly repairs.
Schedule a Professional Spring Roof Inspection today and ensure your home is prepared for the season ahead.